Picture This: Your Wall Art Buying Guide

Wall art does more than decorate a blank wall—it can shift the entire mood of a room. Whether it's bold and modern or soft and subtle, the right artwork gives your space personality, depth and visual interest. It can tie together color palettes, introduce new textures and even become the focal point around which the rest of your decor revolves.
Art brings a sense of completion to a room. It can ground a space or elevate it, add warmth or create drama. It’s also a powerful form of self-expression. The pieces you choose reflect your personality, your experiences and what you find beautiful or thought-provoking. That personal connection is what transforms a house into a home.
Wall art also helps define zones within open floor plans and adds character to otherwise overlooked areas like hallways, stairwells and foyers. It’s a chance to add contrast or harmony, break up monotony or reinforce a style. From large-scale canvases to sculptural installations, wall art gives you countless ways to tell your design story.
Best of all, furnishing your walls doesn’t have to cost a lot. Whether you're drawn to wood or metal modern wall decor, canvas art or affordable prints, it's possible to create a home that feels stylish and personal without spending a fortune.
Choosing the Right Art for Your Space
Before picking a piece, think about the room itself. What’s the mood you want to create? A bedroom might call for calming colors and soft lines while a home office could use energizing shapes or inspirational quotes. In a living room, you might choose something that sparks conversation or anchors your seating area. And in a dining room, warm tones and abstract styles can help create a welcoming vibe.
Consider your lighting. Natural light, overhead fixtures and lamps all play a role in how your art will look. Glass pieces will reflect light, metal art can shimmer beautifully and even canvas paintings can appear dramatically different depending on time of day.
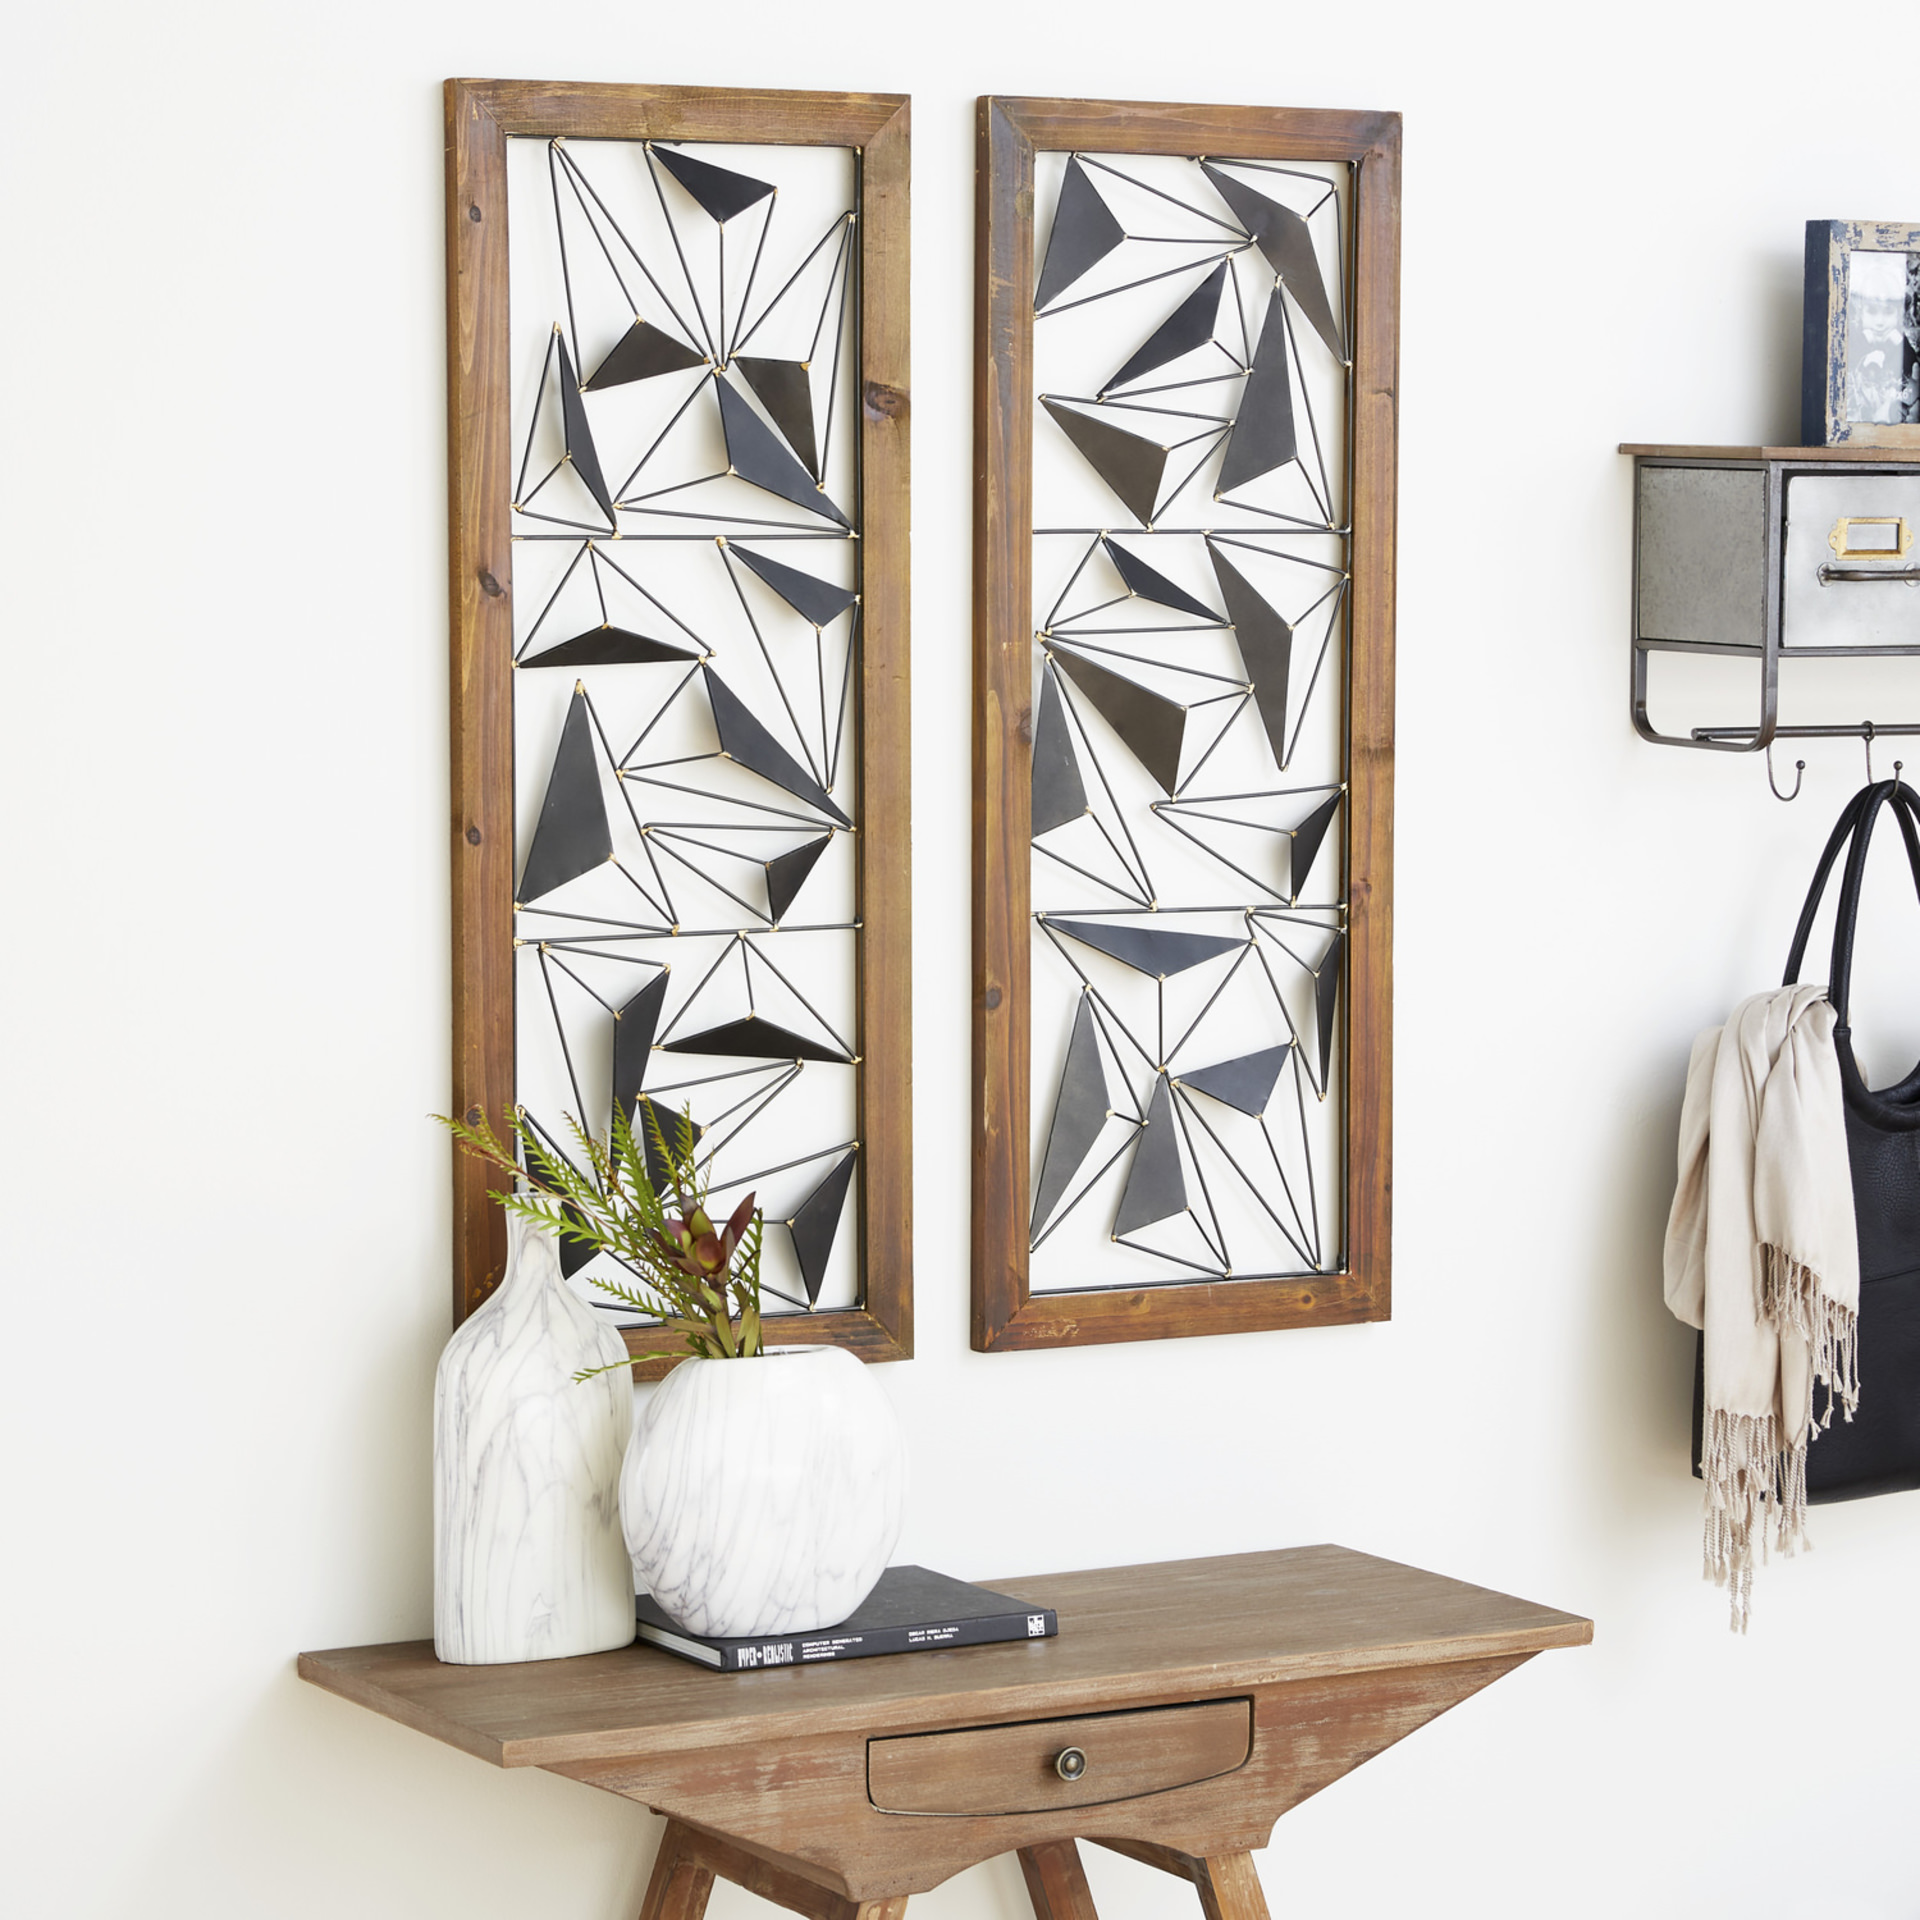
Wall art doesn’t just mean framed pictures or canvas prints. Expand your definition of wall art ideas to include wall sculptures, mirrors, clocks, woven textiles, ceramics, glass art and metal panels. These nontraditional choices add dimension and texture—an important part of creating a layered, well-designed room.
When selecting art, think about how it complements your existing decor. Does it echo your color palette? Does it add contrast in a good way? Your art should feel intentional even if it’s eclectic. Trust your instincts—if you love a piece, chances are you’ll find a place for it.
And remember, art doesn't have to be expensive. A mix of high and low, old and new, framed and unframed can still look polished when arranged with care.
Wall Art Size Guide & Grouping Ideas
One of the most common mistakes people make with wall art is choosing pieces that are too small. Art should relate to the furniture around it. A single piece over a sofa or bed, for example, should typically be about two-thirds the width of the furniture below it. That proportion helps create balance and visual flow.
Here’s a quick wall art size guide:
Small (under 18"): Ideal for tight spaces, gallery walls or as part of a group
Medium (18"–36"): Works well in pairs or clusters or in smaller rooms
Large (36"–48"): Suitable for creating a focal point over furniture or on a feature wall
Oversized (48"+): Great for dramatic effect in open spaces with high ceilings
Grouping art—whether it's a symmetrical arrangement of identical frames or a diverse mix of shapes and sizes—can be an effective way to fill a large wall. Lay everything out on the floor before committing to a layout or use painter’s tape to mock up the arrangement on the wall. Aim for consistent spacing between pieces (usually 2"–4" apart) to keep the group feeling cohesive.
Pairing art pieces also works well—like two complementary prints side by side. Just be sure they share something in common, whether it’s color, theme or framing.
Finding the Right Placement
Before you hang anything, decide where it should go. Placement is just as important as the art itself.
Designers and museums often use the 57-inch rule, which means the center of your artwork should hang about 57 inches from the floor. That’s the average human eye level, so it’s a good starting point—especially when you’re hanging a single piece on a blank wall.
When placing art above furniture, keep the bottom edge about 6"–12" above the top of the furniture. This creates a visual connection without crowding the space.
For gallery walls or groupings, start with the central piece and build out. Balance is key, but you don’t have to be rigidly symmetrical. Use templates made from kraft paper to experiment with different arrangements on the wall before you make any holes.
To hang a single piece at the right height, here’s a simple method:
Measure the height of the artwork
Divide that number in half to find the center
Measure the distance from the top of the artwork to the hanging hardware on the back (like a wire when pulled taut or a sawtooth hanger)
Subtract that hardware measurement from the center point
Add the resulting number to 57 inches
For example, if your artwork is 24 inches tall, half of that is 12 inches. If the wire hangs 2 inches below the top, subtract 2 from 12, which equals 10. Add 10 to 57, and your nail or hook should be placed at 67 inches from the floor.
This method works well for consistent placement and can make even affordable pieces feel like gallery-worthy statements.
Hanging Techniques and Tools
Once you’ve finalized placement, it’s time to hang your artwork.
Basic tools you’ll need:
Measuring tape
Pencil
Level
Hammer or drill
Wall anchors or picture hooks
Stud finder (especially for heavier pieces)
For drywall, standard picture hooks or nails work well for lighter pieces. Use wall anchors or screw into a stud for anything heavy or oversize.
For brick walls, use masonry screws and a power drill with a masonry bit. Adhesive hooks rated for heavy loads can work on brick too if you want to avoid drilling.
Mirrors and heavy wall sculptures may require special hardware like French cleats or D-rings, which help distribute weight more evenly.
Always double-check for level before making anything permanent. And for multi-piece arrangements, measure spacing carefully and use painter’s tape or a laser level to keep things straight.
Art That Feels Like Home
Wall art isn’t just the finishing touch—it’s a major part of what makes your space feel lived-in and complete. From choosing pieces that reflect your style to arranging and hanging them in a way that enhances your room, there’s both an art and a science to getting it right.
Use this guide to help you navigate the process, from picking the right type and size to placing it at the perfect height. And remember—furnishing your walls doesn’t have to be expensive. A little creativity and planning go a long way toward making your space feel beautifully your own.